Wednesday, September 12, 2012

Peanut Butter Crispy Bars

Peanut Butter Crispy Bars - made September 6, 2012 from Baked: New Frontiers in Baking by Matt Lewis and Renato Poliafito

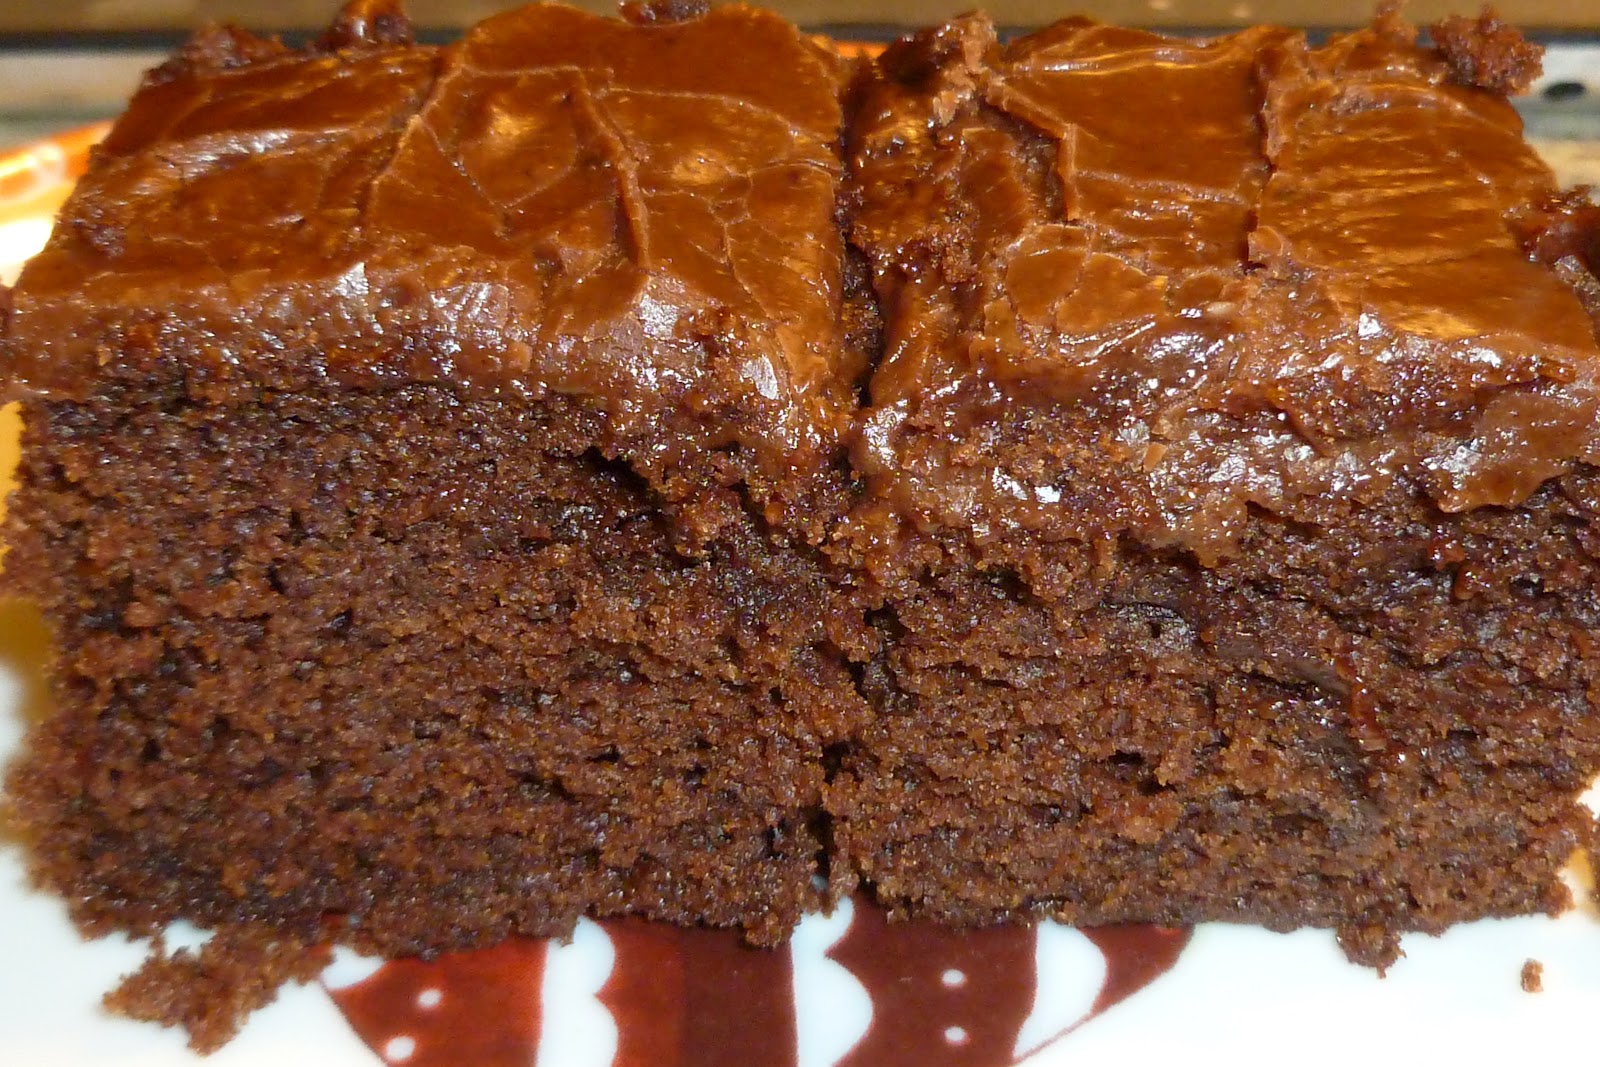
When you look at this recipe, it instantly seems like Rice Krispie treats for grownups.  It's got a caramelized rice krispie layer, followed by a creamy milk chocolate peanut butter layer, topped with a dark chocolate ganache.  It sounded mouthwatering so I made it.  I discovered 1 thing and remembered 2 things.  I remembered I'm not a huge peanut butter fan.  I discovered "caramelized rice krispies" was really more "crunchy rice krispies".  I discovered I prefer the normal rice krispies treat over crunchy rice krispies.  So, almost needless to say, I don't know that I was a fan of this recipe.  I think it sounded better in theory than it tasted in reality.  Peanut Butter and chocolate lovers might like it though so don't let me stop you from trying it out.  For now, I will stick to the pure, simple taste of traditional Rice Krispie treats.
Crust

1 ¾ cups crisped rice cereal
¼ cup water
¼ cup sugar
3 tablespoons light corn syrup
3 tablespoons unsalted butter, melted

Milk Chocolate Peanut Butter Layer
5 ounces milk chocolate, coarsely chopped
1 cup creamy peanut butter

Chocolate Icing
3 ounces dark chocolate, coarsely chopped
½ teaspoon light corn syrup
4 tablespoons unsalted butter

1.     Make the crust: Line an 8-inch square pan with foil and lightly spray with nonstick cooking spray.
2.     Put the cereal in a large bowl and set aside.
3.     Pour ¼ cup water into a small saucepan.  Gently add the sugar and corn syrup without letting them get on the sides of the pan.  Use a small wooden spoon to stir the mixture until just combined.  Put a candy thermometer in the saucepan.  Cook over medium-high heat and bring to a boil; cook until the mixture reaches the soft ball stage, 235F.
4.     Remove from the heat, stir in the butter, and pour the mixture over the cereal.  Working quickly, stir until the cereal is thoroughly coated, then pour it into the prepared pan.  Using your hands or a spatula, press the mixture into the bottom of the pan (do not press up the sides).  Let the crust cool to room temperature. 
5.     Make the milk chocolate peanut butter layer: Melt the milk chocolate and peanut butter together in the top half of a double boiler set over hot water, stirring until completely melted and smooth. Remove the top half from the bottom half of the pan and stir for 30 seconds to cool slightly.  Pour the mixture over the cooled crust.  Put the pan in the refrigerator for 1 hour, or until the top layer hardens.
6.     Make the chocolate icing: In a large nonreactive bowl, combine the chocolate, corn syrup and butter.
7.     In the top half of a double boiler, set over hot water, melt together and stir until smooth.  Remove the pan from the heat and stir for 30 seconds to cool slightly.  Pour the mixture over the chilled milk chocolate peanut butter layer and spread into an even layer.  Put the pan in the refrigerator for 1 hour or until the topping hardens.  When firm, cut into small squares and serve.

  Chef In Training    Cast Party Wednesday

Tuesday, September 11, 2012

Never Forget


And remember our troops as well.  I met a mother a couple of weeks ago whose son is in the Navy and deployed overseas.  I offered to send a care package to her son and, as well as snacks he can share with his unit, I also asked friends to write letters I can include in the package so our military personnel can hear from folks "back home" and know they're not forgotten and their service is appreciated.

If you've thought about sending care packages to our troops, go for it!  I wrote a blog post last year on some tips and possible things to include if you need ideas here.

Sunday, September 9, 2012

Oatmeal Chocolate Chip Toffee Cookies

Grandma's Cookie Jar Oatmeal Cookies - made September 5, 2012 from Land O Lakes Cookies

Life's just been a wee bit busy and I feel like I'm always playing catch up.  But in looking back over this past summer, I realize in the past 8 weeks, I've been in 3 countries, 4 states and 7 cities.  No wonder I'm as behind as my laundry.  It might be a minor miracle I haven't let my blog go completely dark but it probably tells you something about how baking-obsessed I am when I've still managed to fit baking into my crazy schedule.  Sleeping?  Not so much.

I was meeting friends for lunch last Friday before I took off for another mini-weekend away and more friends for dinner at my weekend destination so I needed a cookie for the masses.  Since I'd already done 2 chocolate chip cookies, I switched gears to oatmeal cookies to try out this recipe.  This was a nice, basic oatmeal cookie.  If you bake it just right (not too long), the edges are crispy and the middles are chewy.  If you bake it a little longer, almost the whole cookie has a crunch and even that is pretty good.  The toffee bits got a bit lost in the chewy crunch of the oatmeal so they weren't as pronounced as I expected.  You could leave them out and likely still get a similar result as having them in there.
3 cups quick cooking oats
2 cups firmly packed brown sugar
1 cup butter, softened
2 eggs
1 teaspoon baking soda
1 teaspoon cinnamon
½ teaspoon salt
2 teaspoons vanilla
1 ¾ cups all-purpose flour
1 ½ cups chocolate chips
1 cup toffee bits 


1.     Heat oven to 375˚F.  In large mixer bowl combine all ingredients except flour, chocolate chips and toffee bits.  Beat at low speed, scraping bowl often, until well mixed (1 to 2 minutes).  Add flour; continue beating until well mixed (1 to 2 minutes).  By hand, stir in chocolate chips and toffee bits.  Drop by rounded teaspoonfuls 2 inches apart onto greased cookie sheets.  Bake for 8 to 10 minutes or until edges are lightly browned.

Yield: 4 dozen cookies

Thursday, September 6, 2012

Biscoff-Stuffed White Chocolate Chunk Lava Cookies

Biscoff-Stuffed White Chocolate Chunk Lava Cookies - made August 29, 2012


Remember the Nutella-Stuffed Chocolate Chip Lava Cookies?  I enjoyed those so much I had to come up with an excuse to make them again.  Or at least another version of it.  When a friend came over for our Fantasy Football draft last week, I had the perfect excuse.  But since I'd rather experiment than make the same thing over again, this time, instead of nutella, I used biscoff spread for the lava part.  I also swapped out the milk chocolate chunks for white chocolate chunks, using the only block of white chocolate I had bought in Europe for just such an occasion.

Let me set modesty aside for a sec.  Because really, who are we kidding?  This thing rocks.  I mean,  serious goodness.  As in, yeah, I'll go run a half marathon so I can eat this kind of stuff. Or, er, maybe a 5K.  Don't make me choose between this version or the nutella version though.  They were both good.

To make this version, start with the cookie recipe in the link for the Nutella-Stuffed chocolate chip lava cookies above, substitute white chocolate chunks or chips for the milk chocolate and use biscoff spread instead of nutella.  Trader Joe's Speculoos Cookie Butter Spread is a good alternative if you don't have biscoff spread.  For lava cookies, I'd recommend baking this in ramekins - line the bottom third of the ramekin with the cookie dough, drop a spoonful of biscoff spread in the middle, and cover completely with more cookie dough, filling the ramekin up to 3/4 full.  Chill in the refrigerator for at least 30 minutes (if you can last that long) then bake at 350 degrees until golden brown on top, about 10-12 minutes.

  What's cooking, love?

Tuesday, September 4, 2012

Wickedly Rich Double Fudge Brownies

Wickedly Rich Double Fudge Brownies - made August 30, 2012 from Chocolatier magazine, September 1992 issue

Whenever you have the words "wickedly rich", "fudge" and "brownies" coupled together in a recipe title, you know it has to be good (another rule of the Baking Gods).  Other good buzz words to couple with "chocolate" and "brownie" include "obsession", "death by", "decadent", "over the top", "unbelievable" and so on.

Last weekend I was in the Colorado Rockies meeting a group affiliated with my church.  Some were old friends from years past and some were friends I had yet to make.  For both sets of people, I always like to show up with something homemade, preferably chocolate.  I was so busy last week though that I only ended up baking one batch of brownies and that was late on my last night before I left.  So I had to make it count.  I went with this recipe from Chocolatier magazine that I've had for literally 20 years but hadn't tried yet.  The original recipe called for frosting it with a mocha fudge frosting but as you can tell from the picture, I nutella-crunch-ized it instead because, well, just because.  Turned out rich, moist and fudgy - always the goal when it comes to brownies.

Brownies
5 ounces unsweetened chocolate (Scharffenberger works well)
10 tablespoons unsalted butter, cut into tablespoons
1 1/3 cups granulated sugar
1/8 teaspoon salt
2 tablespoons light corn syrup
4 teaspoons vanilla extract
3 large eggs, at room temperature
3/4 cup plus 2 tablespoons all-purpose flour

Nutella Crunch Topping
1 cup semisweet chocolate chips
2/3 cup Nutella
1/2 tablespoon unsalted butter
1 cup crispy rice cereal
  1. Position a rack in the center of the oven and preheat to 325 degrees F.  Line a 9-inch square baking pan with aluminum foil and spray lightly with nonstick cooking spray.  
  2. In the top of a double boiler set over hot, not simmering, water, melt the chocolate with the butter, stirring frequently until smooth.  Let cool for about 10 minutes.
  3. Add the sugar and salt to the cooled chocolate mixture and beat until blended.  Beat in the corn syrup and vanilla.
  4. One at a time, add the eggs, beating after each addition.  Stir in the flour, mixing only until just incorporated.  Mix until batter is smooth but do not overmix.  Scrape the batter into the pan and spread it evenly.  Bake for 30 to 35 minutes or until a toothpick inserted near the center comes out with moist crumbs, not raw batter.
  5. Make the Nutella Crunch Topping: melt chocolate chips in the top half of a double boiler set over hot, not simmering, water.  Add butter and nutella and stir until smooth and blended.  Add crispy rice cereal, stirring to coat thoroughly.  Pour over warm brownie and smooth.
  6. Let brownie cool completely before cutting.
 Cast Party Wednesday 

Monday, September 3, 2012

Cocoa Buttermilk Birthday Cake

Cocoa Buttermilk Birthday Cake - made August 28, 2012 from Baking From My Home to Yours by Dorie Greenspan


It's been quiet on the blog for the last few days as I've been out of town for Labor Day weekend.  Before I left, I was (once again) rushing to use up buttermilk that was going to expire while I was gone.  I was pressed for time though since everything seemed to be happening all at once last week (needless to say I was packing at the last minute before leaving at dawn for the airport Friday morning) so I went with a modified version of this chocolate cake.  Instead of making it into 2 round layer cakes, I kept it simple and made it in a 9 x 13 pan and I used the fudge frosting from the Texas Fudge Cake to spread on top while the cake was warm from the oven.  Make sure you beat the frosting enough to emulsify the ingredients together or else the butter will separate when cool.  Don't overbeat however, or it'll be too fluffy.

This is a good basic chocolate cake, easy to mix together and to make with a fluffy cakey texture (don't overbake) that isn't too chocolaty and complements the richness of the frosting. Not to mention nothing easier to cut when cool, package up and put in the freezer for giving away later.  Enjoy.
2 cups all-purpose flour
½ teaspoon baking powder
½ teaspoon baking soda
½ teaspoon salt
2 sticks (8 ounces) unsalted butter, at room temperature
1 ½ cups sugar
2 large eggs
2 large egg yolks
1 teaspoon vanilla extract
1 cup buttermilk
4 ounces bittersweet chocolate, melted and cooled


1.       Preheat oven to 350˚F.  Line a 9 x 13” pan with foil and spray lightly with nonstick cooking spray.
2.      Whisk together the flour, cocoa, baking powder, baking soda and salt.
3.      With the paddle attachment of a stand mixer, beat the butter on medium speed until soft and creamy.  Add the sugar and beat for 2 minutes, until thoroughly blended into the butter.  Add the eggs one at a time, then the yolks one by one, beating for 1 minute after each addition and scraping down the sides and bottom of the bowl as needed.  Beat in the vanilla.  Reduce the mixer speed to low and add the dry ingredients alternately with the buttermilk; add the dry ingredients in 3 portions and the buttermilk in 2, beginning and ending with the dry ingredients.  Mix only until each new batch is just blended into the batter.  Scrape down the bowl and add the melted chocolate, folding it in with a rubber spatula.  Pour into prepared pan and smooth.
4.     Bake for 26 to 30 minutes or until a toothpick inserted near the center comes out clean or with a few moist crumbs.  Do not overbake.  Spread frosting immediately over hot cake and smooth.  Cool completely in pan on wire rack before cutting into squares.

    Chef In Training

Thursday, August 30, 2012

Nutella-Stuffed Chocolate Chip Lava Cookies

Nutella-Stuffed Chocolate Chip Lava Cookies - made August 25, 2012 , recipe adapted from Alli-n-Son blog

Can you say yummy goodness?  Because I can with this lava cookie experiment.  I have to credit my sister with this, or rather the onset of her visit.  If you recall, my sister's favorite dessert is molten chocolate cake or lava cake.  I've tried various recipes in the past and usually am thwarted in finding the recipe for lava cake goodness that I aspire to.  My sister was coming up to visit one of her daughters (my niece who now goes to college in the area) and wanted "something chocolate".  Rather than making another attempt at a lava cake, I decided to try and make a lava cookie instead.  I'd been wanting to try this brown butter chocolate chip cookie from Alli-n-Son's blog so it seemed like a good time to try out both.

First of all, I love just about anything with browned butter.  The fragrant smell alone could bring me to my knees to worship at its hedonistic altar.  And the super deliciousness of its taste?  Uber goodness.  Second, instead of chocolate chips, I sacrificed chopped up one of the blocks of milk chocolate I had brought back from Switzerland last month, thereby almost guaranteeing this was going to turn out well.  You can't go wrong with Swiss chocolate - it's one of the universal truths of the Baking Gods.  After I made this cookie dough, it smelled so good I almost ate the dough.  And I never eat cookie dough, much preferring the baked version.  So for me to consider snitching cookie dough because it smelled and looked so good is almost unheard of.  If you're a cookie dough lover, make a pact with yourself that you will reserve some dough to actually bake.  Otherwise, you're going to miss out on a really good lava cookie.

I used nutella as the lava portion for the middle of the cookie but if nutella isn't your thing, you can also use caramel, biscoff spread or even melt some chocolate chips and add a little butter to keep it liquid for a pure chocolate center.  The nutella worked stupendously well in this cookie (I'm bringing out all the superlatives for this recipe because it was just that good).  You can serve this with ice cream but I found it doesn't need it because it's a good standalone dessert even without ice cream.  I may try a different version with a white chocolate chip cookie and biscoff spread next time.  As soon as I've run enough miles to work off this original version.

Oh, and I also baked a non-lava version of this cookie and that was pretty good too.  It had the thickness and chewy texture I love in my chocolate chip cookies.  BTW, for anyone with a sharp eye, you'll notice this recipe is almost exactly like the Alton Brown one, with the exception of 1/4 more bread flour and 1/2 teaspoon less salt.


1 cup (2 sticks) unsalted butter, cut into tablespoon slices
2 1/2 cups bread flour
1/2 teaspoon coarse sea salt (I used fleur de sel but you can also use regular salt)
1 teaspoon baking soda
1/4 cup granulated sugar
1 1/4 cups light brown sugar
1 large egg
1 large egg yolk
2 tablespoons milk
1-1/2 teaspoons vanilla extract
2 cups milk chocolate chunks
Nutella
  1. In a small pot melt the butter over medium heat, whisking occasionally. Once melted, the butter will foam up, then subside. Continue cooking, stirring occasionally, until light brown specks form at the bottom of the pot and the butter has a nutty aroma.  Careful not to let it burn. Remove from heat and pour into a glass bowl. Set aside to cool. 
  2. In a small bowl, sift together the bread flour, salt and baking soda. Set aside. 
  3. In a small bowl whisk together the milk, egg, egg yolk and vanilla extract. Set aside. 
  4. Using an electric mixer with the paddle attachment, on medium speed cream together the cooled browned butter and sugars for 2 minutes. 
  5. On low speed, add in the egg mixture, mixing until well combined, about 30 seconds. 
  6. Slowly stir in the flour mixture, mixing until well combined, scraping down the sides as needed. 
  7. Stir in the chocolate chunks.  Form into dough balls, dropping a spoonful of nutella in the middle and wrapping the dough around to cover the filling completely.  Alternatively you can drop a spoonful of dough in a ramekin, drop a dollop of nutella over it then cover with another spoonful of dough, filling the ramekin 2/3 full.
  8. Chill the dough balls (or ramekins) in the fridge overnight or up to 48 hours. 
  9. Preheat oven to 375 degrees F. 
  10. Line two cookie sheets parchment paper. 
  11. Place dough balls about 2 inches apart on each pan. Flatten balls slightly.  If using ramekins, place on unlined baking sheet.
  12. Bake for 10-12 minutes, rotating the pans half way through for evening browning. 
  13. Cool slightly before moving to a wire rack to cool completely.  Serve warm.
Linked to Sweet Treats Thursdays

Cast Party Wednesday  What's cooking, love?